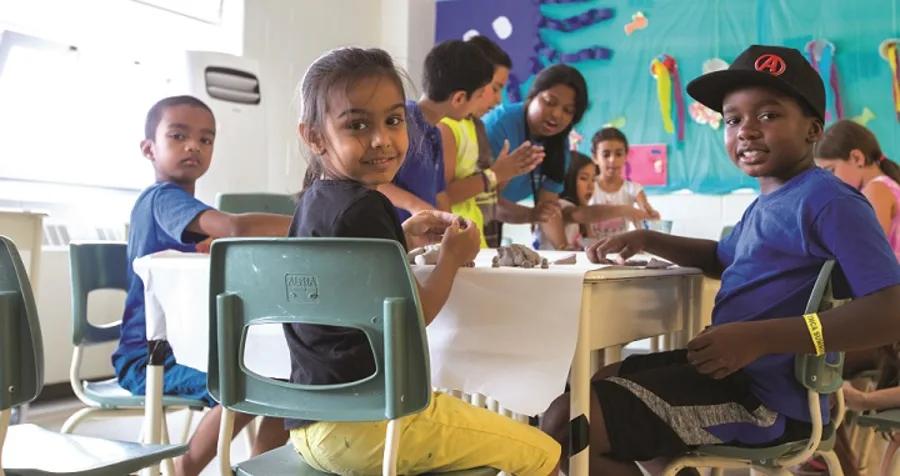
Keep your kids busy with this outdoor expedition/art project duo!

Supplies you’ll need:
For the picture frame:
- Hemp string
- 12 small twigs per child, or, if available, four thicker twigs per child
(Substitute: popsicle sticks, if you don’t have access to a low-traffic green space where you can gather the twigs)
For the artwork:
- Construction paper
- Leaves
(Optional! Sub in any other decorative art supplies you have on hand, like stickers, or just stick with paint if you don’t want to venture outdoors.) - Scissors
- Glue
- Paint
- Paint brushes
Part I: The outdoor expedition
Part I is entirely optional. In fact, we only recommend it if you have easy access to a low-traffic outdoor space, like your own backyard. We’d much rather you practice physical distancing than venture out in search of twigs, when something like popsicle sticks will work perfectly fine as a substitute.
So, if you’re up for the outdoor adventure, head out with the kids and get them to collect the leaves and any other natural materials they’d like to use on their artwork, as well as sticks to build their picture frames. Encourage them to pick out more than you think they’ll actually need, because we’re willing to bet the kids will want to make more than one masterpiece!
Helpful tips and suggestions:
- We don’t want to break anything off of trees, pluck anything from the ground, or otherwise disturb our natural environment. Help your kids choose leaves that have already fallen off trees, and twigs that are on the ground.
- Try to find twigs that are approximately the same length. It’ll make it easier to build your picture frame later.
- If you can find thicker twigs, you’ll only need four of them for the picture frame. If you only come across thin little ones on your expedition, gather 12 per frame; we’ll layer them up!
Part II: Creating a work of art
Let your kids’ creativity flow free! Arm them with construction paper, paint, and (if you ventured outside) the leaves and other natural materials they gathered. The only guideline we have for your budding Picasso is to try to keep their art concentrated in the middle of the piece of construction paper; we’ll use the border to glue the piece to the picture frame, below.
Next, build the frame to showcase that masterpiece:
- Separate the twigs you collected outside (or, if substituting, your popsicle sticks) into four groups: one for the top, bottom, left, and right.
- Line up one twig from each group to form the shape of the frame, with the edges overlapping. If you’re only using four thicker twigs, skip ahead to step five, below.
- If you’re using smaller twigs, continue stacking the twigs in the same order, creating a layered effect that will thicken the frame up.
- Tie a piece of hemp string around the middle of each side of the frame to secure the twigs. This is just temporary, to help you manage step five without each side sliding around.
- Tightly tie a piece of hemp string around each corner, wrapping it in an “X” shape to secure the twigs.
- If you used small twigs, remove the string from the middle of each side that you used to secure them in step four.
- Place glue on the front of the artwork, all around the border, and secure it to the picture frame from the back.
- Set the artwork, now framed, aside to let it dry.
Even though our centres are currently closed, we want you to know that we are still here for you! Expect to hear from us again soon with more ideas for keeping your kids active and engaged while school’s out; tips to help protect your mental health; and some #CalmingContent that will (hopefully!) make you smile. Keep an eye on ymcagta.org/Alerts for updates on our centres, programs, and services.


